Ok....before I get into everything for Tray 3, I want to apologize for how long this post will be. I have a lot of info to add this week along with lots of pictures. Now, with that being said, we can get into the good stuff. I went into my appointment and got a couple of things done to my teeth. I got my teeth shaved a little more. It hurt this time just because every now and then the assistant shaving my teeth would get my gums with the strip, which cut them up a little. So when I got home and brushed my teeth, there was a good amount of bleeding and I couldn't really floss. But it's 2 days later and they are feeling much better. I also got my attachments at this appointment (well some of them anyway). I got 4 of them for now and around Tray 11, I will have 1 or 2 taken off and a couple put on different teeth. They advised me in the beginning to switch trays at night, but obviously I couldn't do that with this tray. Since I got the attachments, Tray 2 would not have fit, so I needed to switch to Tray 3 after the appointment. As far as the attachments being visible, they really aren't that big of a deal. When I have the trays off, I can't see the attachments at all. I have to look super close and at just the right angle to see them. However, with the trays on, they are a little more noticeable. Not a whole ton, but yes they are more visible than when the trays are off. I wasn't really sure how the attachments really help the movement so I did a little research. Apparently, the attachments will help the teeth they are on move a little more quickly and easily and make movements that the trays alone can't do. I also wanted to explain the process of how they put my attachments on. The assistant first took Tray 3 out of its little invisalign bag. She then filled the bumps on the tray with some opaque gooey substance. Then she put the tray on my teeth and had me bite down on a cotton ball to hold it in place. She let it sit for about 30 seconds then brought out this little handheld light and shined the light on the attachments while the tray was still on. This hardened the substance. We did all of this again for the bottom tray. Then she had me try to take off the trays just to make sure that I could do it. Before I even tried, I knew I was going to have a difficult time because the trays were extremely tight. The bottom tray was a little difficult compared to the first 2 trays, but the top tray was just ridiculous. I sat there for about 5 minutes struggling to get it off. Eventually I did when the assistant told me to try to pull it down and out at the same time. That was basically all we did at the appointment. She showed me the video to see what movements happened with the first 2 trays. They pretty much moved my premolars out a tiny bit to widen my smile. The real movements that will straighten out my teeth will start with this tray so I am pretty excited to look after a few more trays and see if I can notice a difference. Here are a few pictures from different angles to show that the attachments are not visible from all angles and distances.
NO TRAYS:
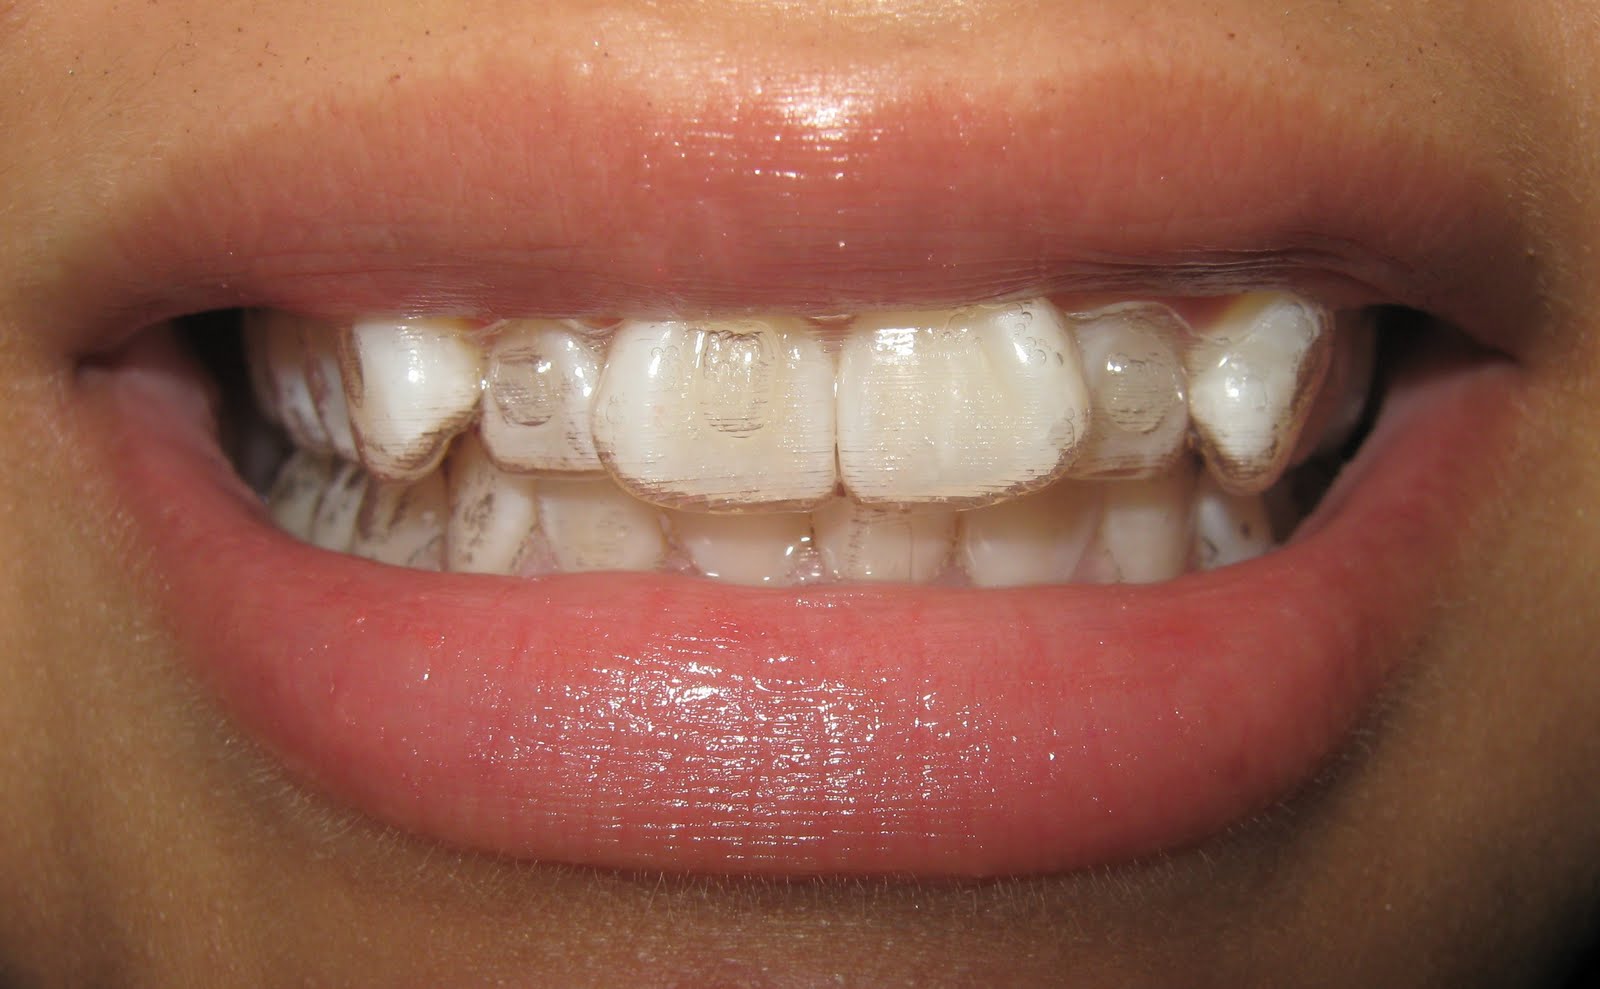
WITH TRAYS:


Hopefully you can tell from these pictures that the attachments aren't really a big problem (in my opinion). They do bring up a huge problem for me in regards to the pain though. The next morning after I got the attachments, I didn't even want to brush my teeth because I didn't want to have to take off the trays. I could tell from the second I woke up that my teeth were going to hurt, and boy did they. When I finally worked up the courage to take them off, it was very painful. The teeth with the attachments hurt so much and I could barely brush my teeth because the pressure from the brush made them hurt even more. I tried eating a pickle with my sandwich for lunch and had to just use my back teeth because there was no way I could use my front ones. I ended up taking a nap for a good part of the day so I wouldn't have to feel the pain. But that is the reason I waited an extra day before I posted this info. Today, they do still hurt, but not anywhere near as much as yesterday. The trays are also a little easier to remove.Hopefully I didn't scare anyone with my painful experience from the first day and you can just remember that the second day will be much better.
I did want to post a picture of the strip that is used to shave my teeth.
As you can see, it's just a small little strip similar to sand paper. It's paper-thin so it doesn't leave a huge gap. I was given the strips because the assistant told me that I can shave my own teeth from now on (just the front ones). She said once a week, check to make sure there is space between my teeth. I have to slide the strip between 2 teeth. If it slides in and out with no problems, then I don't have to shave those teeth. But, if there is a little friction, then I need to just floss with it. I would need to shave both teeth until there's no more friction. The assistant told me to just try it on my own, but that if I'm not comfortable doing it then I can just have them do it at the appointments. I haven't tried it yet because it's not time but I don't think it should be too hard. Well...that's it for this post. I tried not to leave anything out but if you have any questions, please don't hesitate to ask.


No comments:
Post a Comment